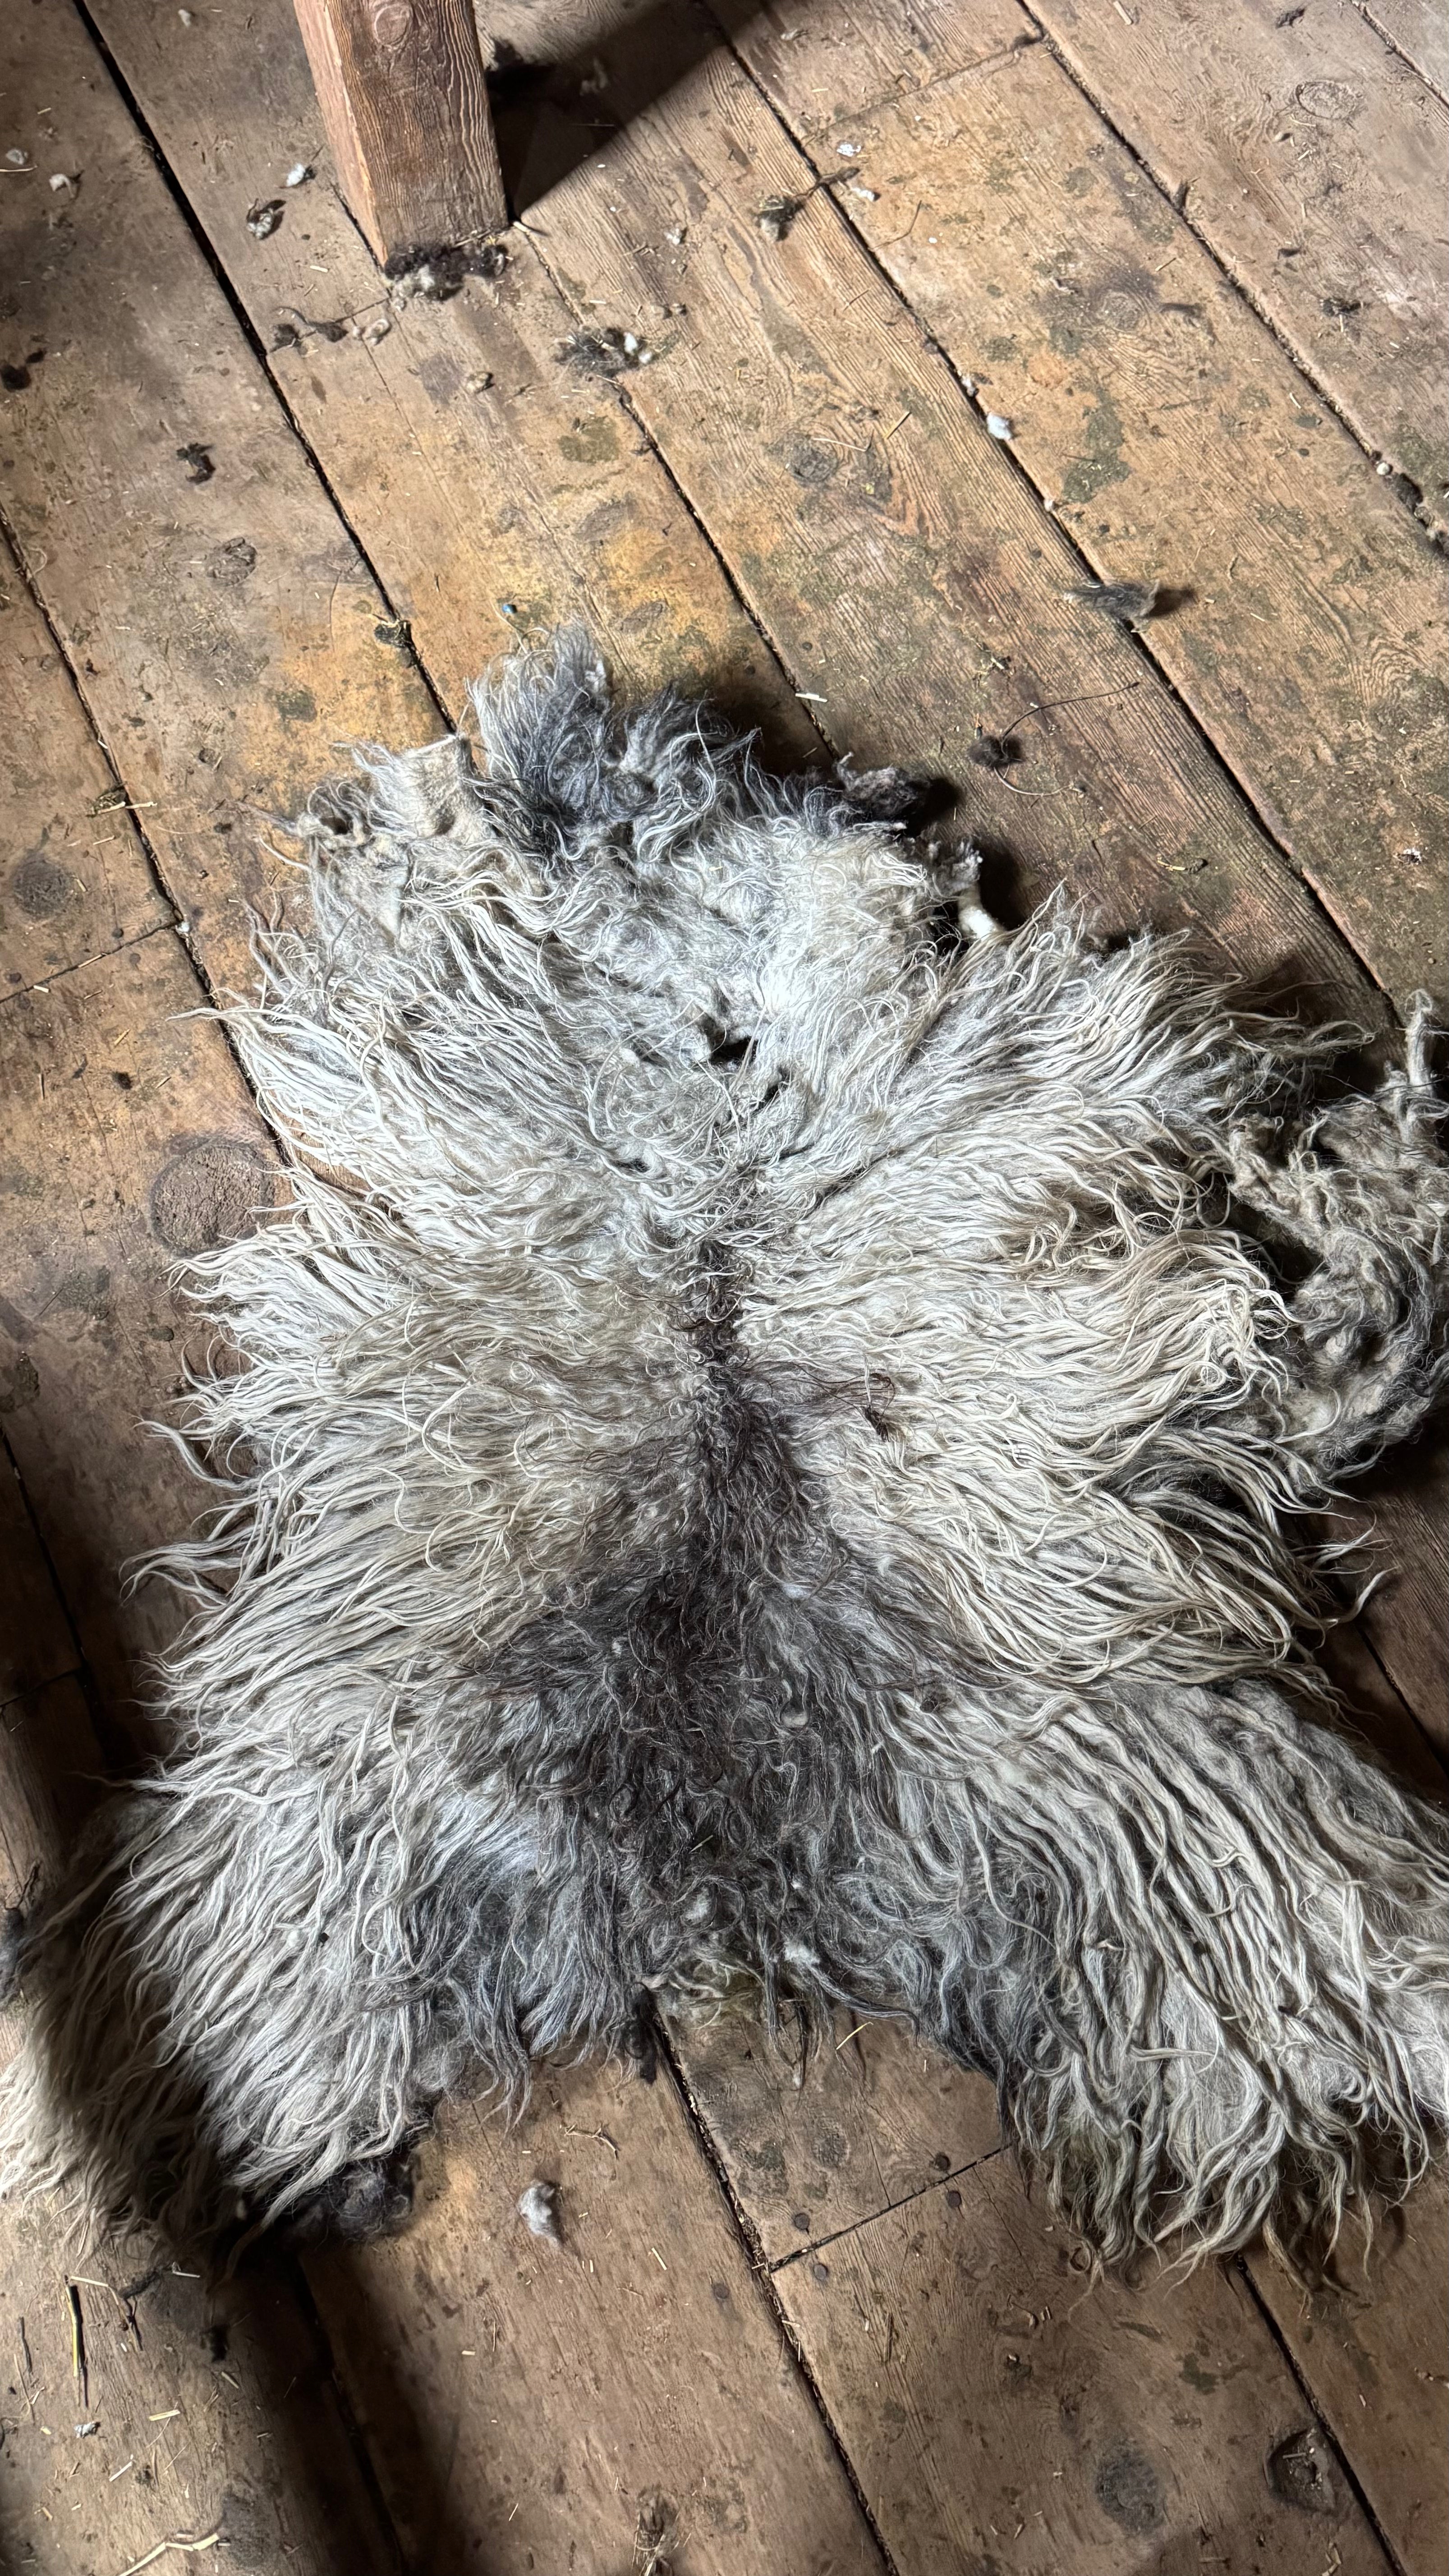
This is raw fleece set aside for making what’s called a living rug.
A living rug is made by felting the backside of the fleece so it holds together, while the top is left natural so you still see the fibers, color, and character of the wool. It’s not woven or processed into something uniform. It still looks like it came from a sheep, because it did.
These are not finished rugs. The fleece can have holes, sticks, hay, and other pasture debris. It’s up to you, the DIYer, to clean it out and felt those areas closed as you build your rug.
This raw fleece still needs to be finished through felting, making it a hands-on DIY project that turns into a one-of-a-kind heirloom living rug.
Each year when we shear, I pull aside fleeces that are best suited for this kind of use. This wool comes straight off our sheep and hasn’t been cleaned, combed, or processed in any way. You’ll be doing that part yourself—picking through it and working it into a finished piece.
These sheep live out on rough mountain ground, and the wool reflects that. It’s not uniform, and no two fleeces come out the same.
What this listing is
Raw, unprocessed Icelandic fleece selected for making a living rug. You’re buying the starting material, not a finished or partially finished product.
What to expect
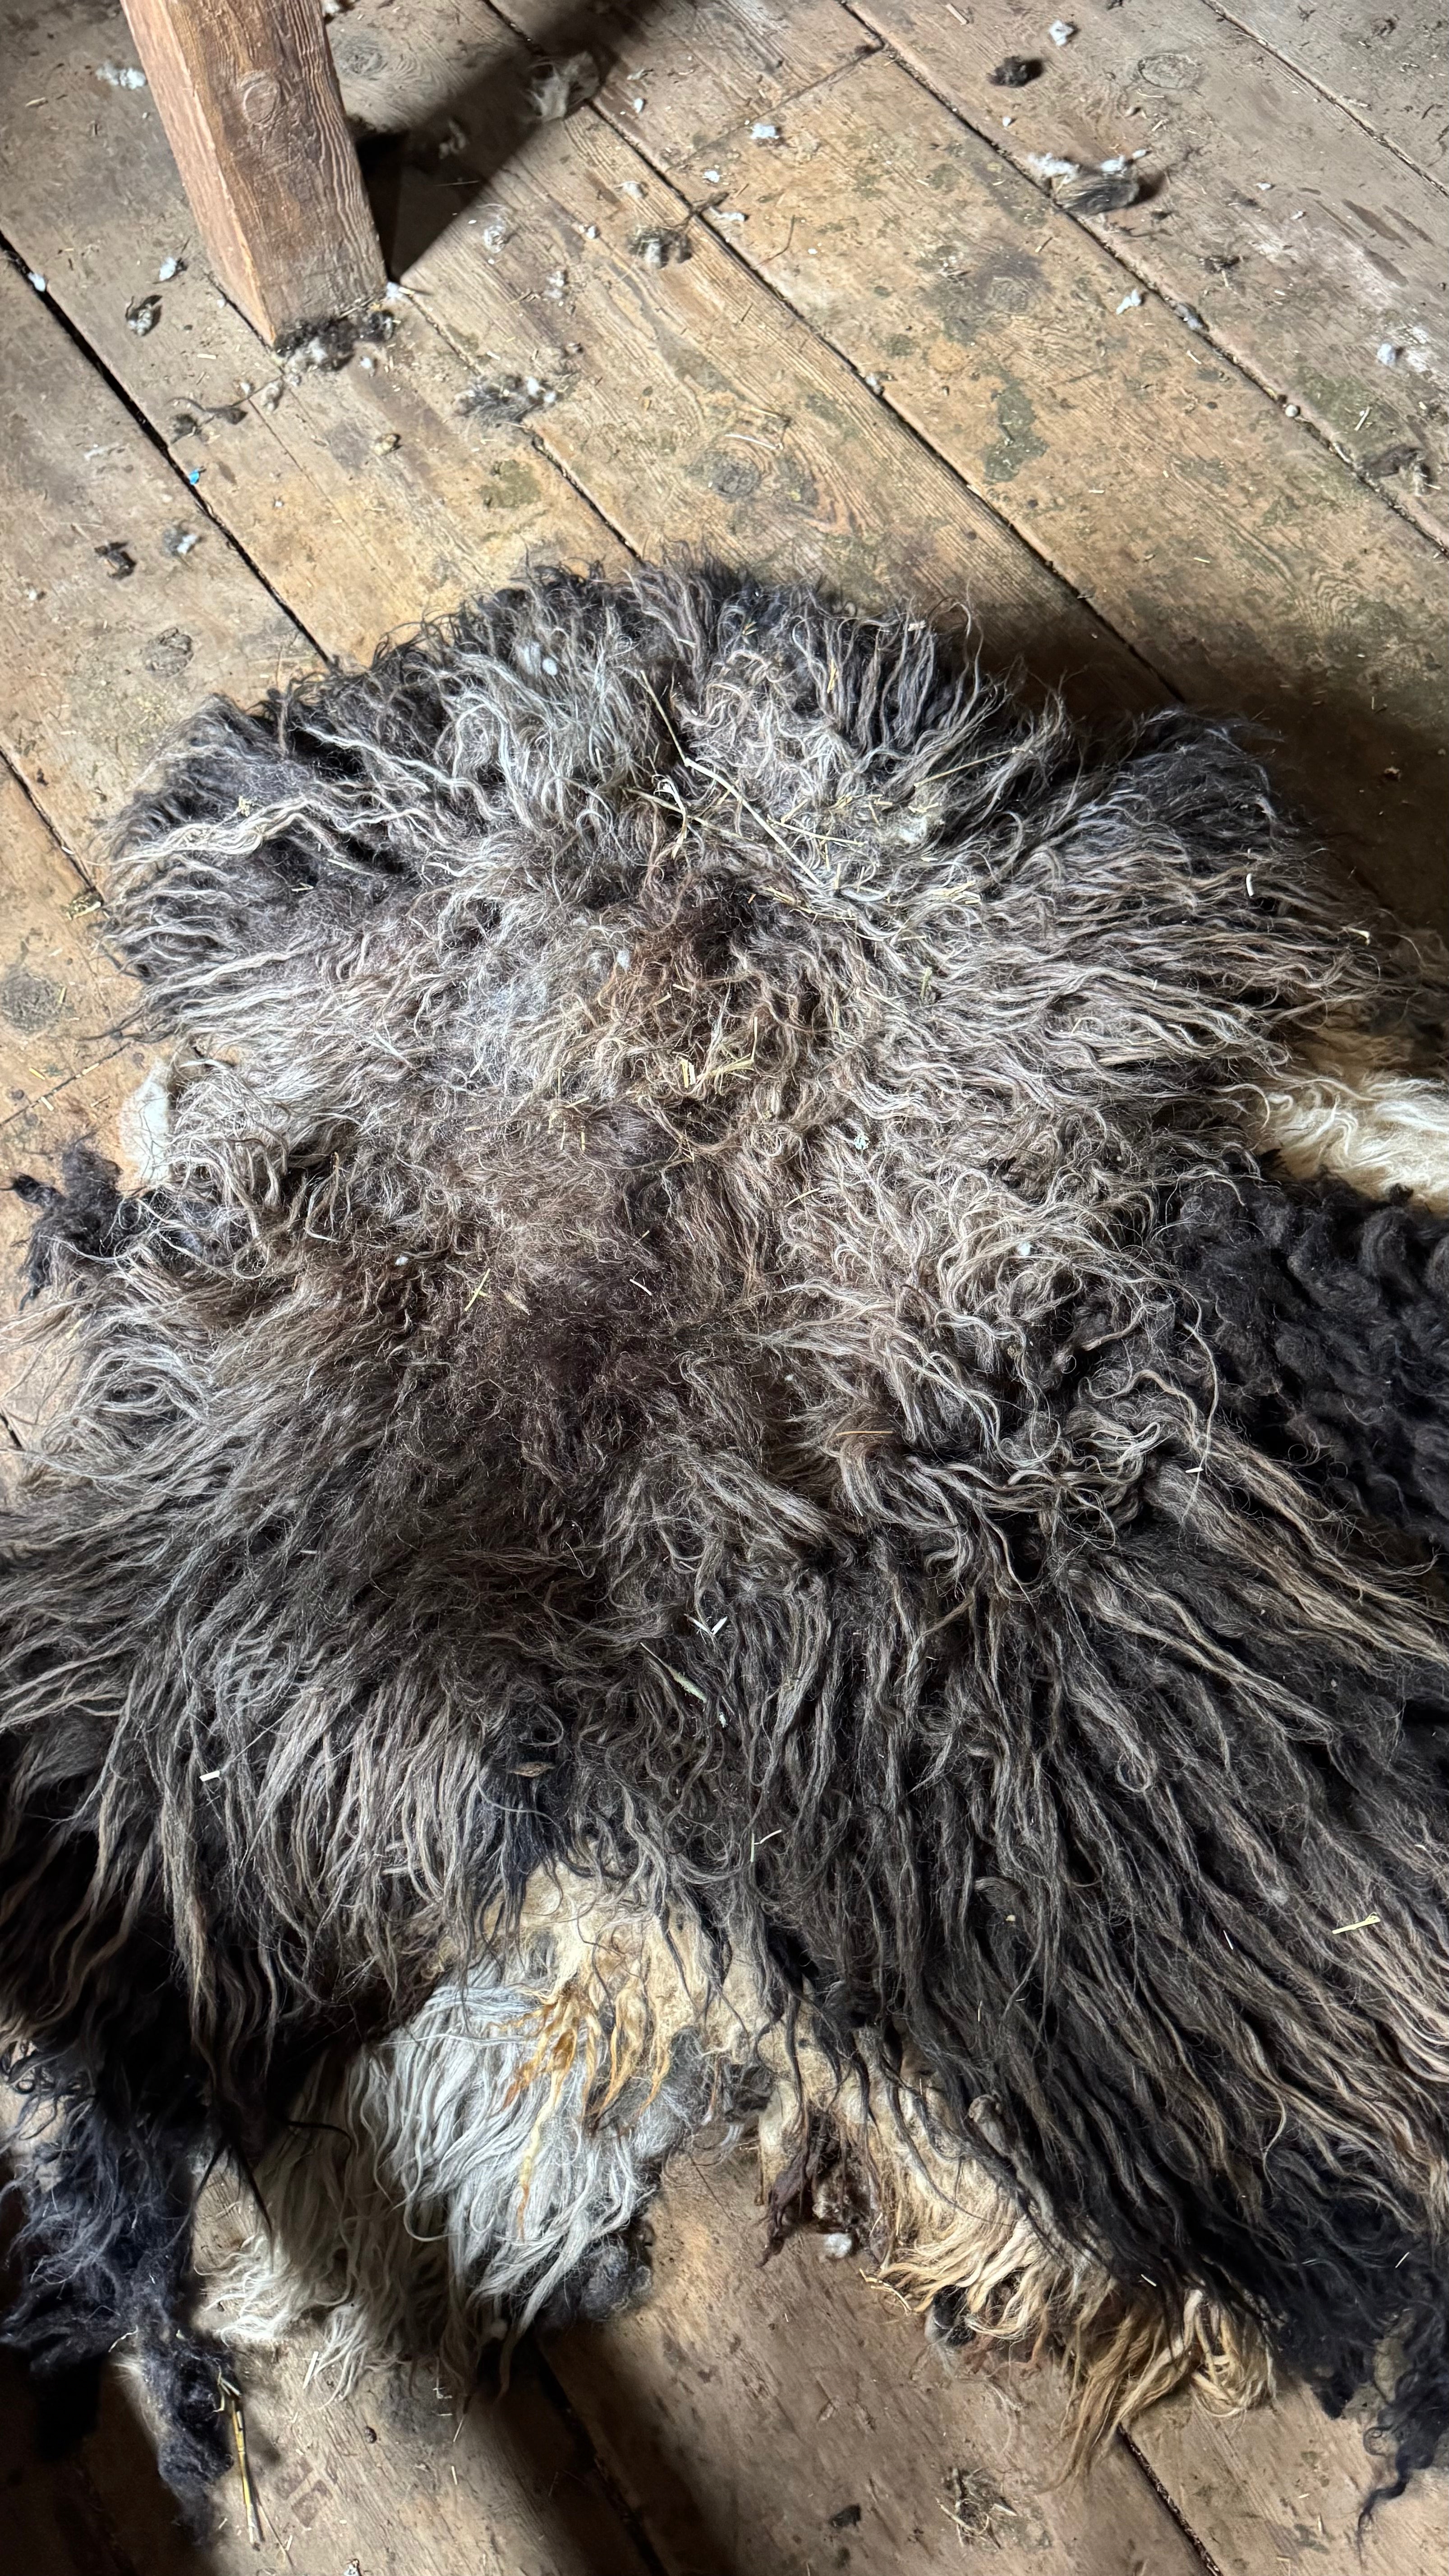
This is wool exactly as it comes off the sheep:
- There will be sticks, hay, and pasture debris throughout
- There may be thin spots or small holes to work through
- You’ll need to sort and prep it by hand
- Texture will vary—this is not soft garment wool
- Each fleece is different in color and structure
- It takes time and a bit of effort to turn this into a finished rug
What this is not for
This isn’t for spinning yarn or making clothing, and it’s not for anyone looking for clean, ready-to-use wool.
Who this is for
For anyone who wants to make a one-of-a-kind, heirloom wool living rug—starting with fleece straight off our sheep.
How to finish a living rug (basic process)
Start by laying the fleece out as a whole piece. You want to keep it intact, not pull it apart.
Go through it by hand and remove sticks, hay, and dirt. You can gently open areas as needed to get debris out, but the goal is to keep the fleece structure together as much as possible.
Once it’s cleaned up, you can address any thin spots or holes as you go. As you’re picking through it, you’ll naturally end up with loose wool—set that aside and use it to fill in and build up those areas.
From there, begin the felting process. Alternate hot and cold water and start working the fleece by pressing and rubbing in small circles. You’re tightening what’s already there, not taking it apart. You’ll feel when the fibers start to lock in.
Since these fleeces are already fairly felted when they come off the sheep, there’s no need to add a backing.
Once it starts holding together, roll the fleece up in a tarp and roll it back and forth for about 20 minutes. Unroll it, check the tightness, and repeat as needed until it feels solid.
After that, go back in with a felting needle for any small holes. Pinch those areas together and use the needle to work the fibers until they hold.
Once everything feels tight and set, rinse the rug with clean water to remove any soap. Just run water through it until it runs clear—no need to overwork it.
Press out the excess water without wringing or twisting it.
Lay it flat and take a minute to shape it while it’s still wet. Straighten the edges and even things out so it dries the way you want it to look.
Let it dry completely in a spot with good air circulation. A drying rack, fence, or anything that lets air move around it works well. Depending on weather, this can take a couple days.
There’s no exact formula here. Each one turns out a little different, and that’s part of it.
From the ranch
This is left raw on purpose. You’re starting at the very beginning and taking it all the way through yourself.